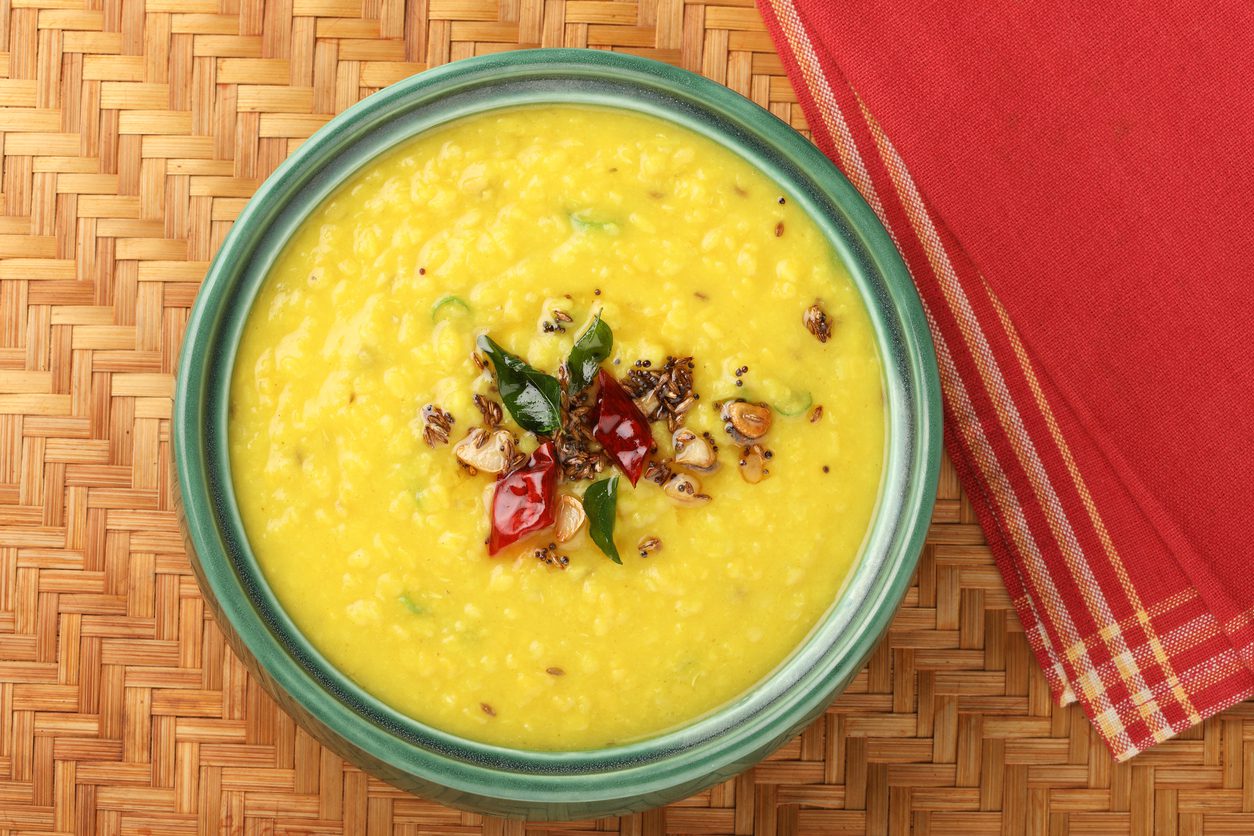
Dal Curry is the most basic, foundational Indian lentil dish — light, nourishing, and endlessly versatile.
This version uses toor dal (split pigeon peas), a staple in South Indian kitchens.
Dal Curry is like the “chicken stock” of Indian cooking — a versatile base you can build countless meals from.
Once you master this base recipe, you can transform it into Dal Fry, Dal Tadka, Sambar, Rasam, Gujarati Dal, or Methi Dal with just a few extra steps.
This simple dish is also perfect for meal prep:
Cook an entire bag of dal, portion it into freezer bags, and you’ll be able to whip up restaurant-quality dal dishes in just 10 minutes of prep time.
🌱 Other Names for Simple Dal Curry
- Plain Dal – Common term in Indian households.
- Basic Toor Dal Curry – Refers to the specific lentil used.
- South Indian Dal Base – In South India, this is often the starting point for sambar or rasam.
- Yellow Lentil Curry – Simplified English description.
- Parippu Curry – Kerala region term for basic dal curry.
🛒 Ingredients (Serves 4–6)
- 1 cup toor dal (split pigeon peas)
- 3 cups water
- ½ teaspoon turmeric powder
- 1 teaspoon salt (or to taste)
🍳 Instructions
- Rinse the Dal
Rinse toor dal thoroughly under running water until the water runs clear.
(This helps remove excess starch and prevents foaming.) - Cook the Dal
- Stovetop:
Add rinsed dal, water, turmeric, and salt to a large saucepan.
Bring to a boil, then reduce heat to medium-low and simmer for 30–40 minutes, stirring occasionally, until the dal is soft and creamy.
(Add more water if needed to maintain a soup-like consistency.) - Instant Pot:
Pressure cook on high for 8 minutes, then allow a natural release or just use the porridge cook mode.
- Stovetop:
- Mash & Adjust
Once cooked, mash lightly with the back of a spoon or whisk to create a creamy texture.
Taste and adjust salt as needed. - Serve
Enjoy hot with steamed rice, chapati, or as the base for other dal dishes.
Top with a drizzle of ghee or a sprinkle of fresh cilantro for extra flavor.
❄️ Freezer Meal Prep Instructions
- Cook a Big Batch:
Use an entire bag of toor dal (usually 4 cups dry dal) and 12 cups water. - Cool Completely:
Allow cooked dal to cool to room temperature. - Portion:
Divide into quart-sized freezer bags (about 4 cups each). Lay flat for easy storage. - Store:
Freeze for up to 3 months. - Quick Weeknight Dinner:
Defrost, then turn your plain dal into Dal Fry, Dal Tadka, or Sambar in just 10 minutes of prep time using CURRY STARTER.
🌱 How This Base Transforms
| Dish | Extra Ingredients | Time to Finish |
|---|---|---|
| Dal Fry | Onions, tomatoes, green chilies, ghee, garam masala OR JUST CURRY STARTER | 30 min (without Curry Starter) 10–15 min (with Curry Starter) |
| Dal Tadka | Garlic, cumin, red chilies, ghee/oil for tempering | 5 min |
| Sambar | Tamarind, vegetables, sambar powder | 15–20 min (with Curry Starter) |
| Gujarati Dal | Tamarind, jaggery, curry leaves, green chilies | 15 min |
| Methi Dal | Fresh fenugreek leaves, green chilies | 10–12 min |

0
Add to Favorites
🌱 Simple Dal Curry (Plain Toor Dal) – The Base for All Dal Dishes – Meal Prep Method Included
Description
- Make a simple, nourishing dal curry with toor dal. Use this plain dal base to create Dal Fry, Dal Tadka, Sambar, and more. Perfect for meal prep and freezer-friendly cooking.
Note
- Consistency: Add extra water for a soupier dal or keep it thicker for a heartier meal.
- Lentil Swaps: Moong dal or masoor dal can be substituted but may need less cooking time.
- Make it richer: Stir in a spoonful of ghee or coconut milk before serving.
- Spice level: Keep it mild for kids or add fresh chilies for more heat.
simple dal curry, plain dal recipe, toor dal curry, Indian lentil base, dal freezer meal prep, quick dal fry